The Complete Dog Photography Guide: From Phone to Portfolio
PupGen Media
PupGen
The Complete Dog Photography Guide: From Phone to Portfolio
Dog photography is its own discipline. Dogs don't hold still, don't take direction, and have no concept of "the light is better over here." The challenge is real — but so is the payoff when you get the shot.
This guide covers everything from smartphone basics to more advanced techniques, with the goal of helping you build a genuine library of quality images of your dog.
Part 1: Equipment
The Camera You Have
The best camera is the one you have with you. Modern flagship smartphones (iPhone 14+, Samsung S22+) are genuinely capable of professional-quality pet photography. Don't wait until you have "better gear."
If You Want to Invest
A mirrorless camera with a 50mm or 85mm prime lens is the most efficient upgrade. The shallow depth of field you get from these lenses — where the dog is sharp and the background melts away — is difficult to replicate on a phone.
For action shots (running, jumping), you'll want a camera with fast autofocus tracking. Sony A-series and Nikon Z-series have excellent animal-eye autofocus.
Part 2: The Fundamentals
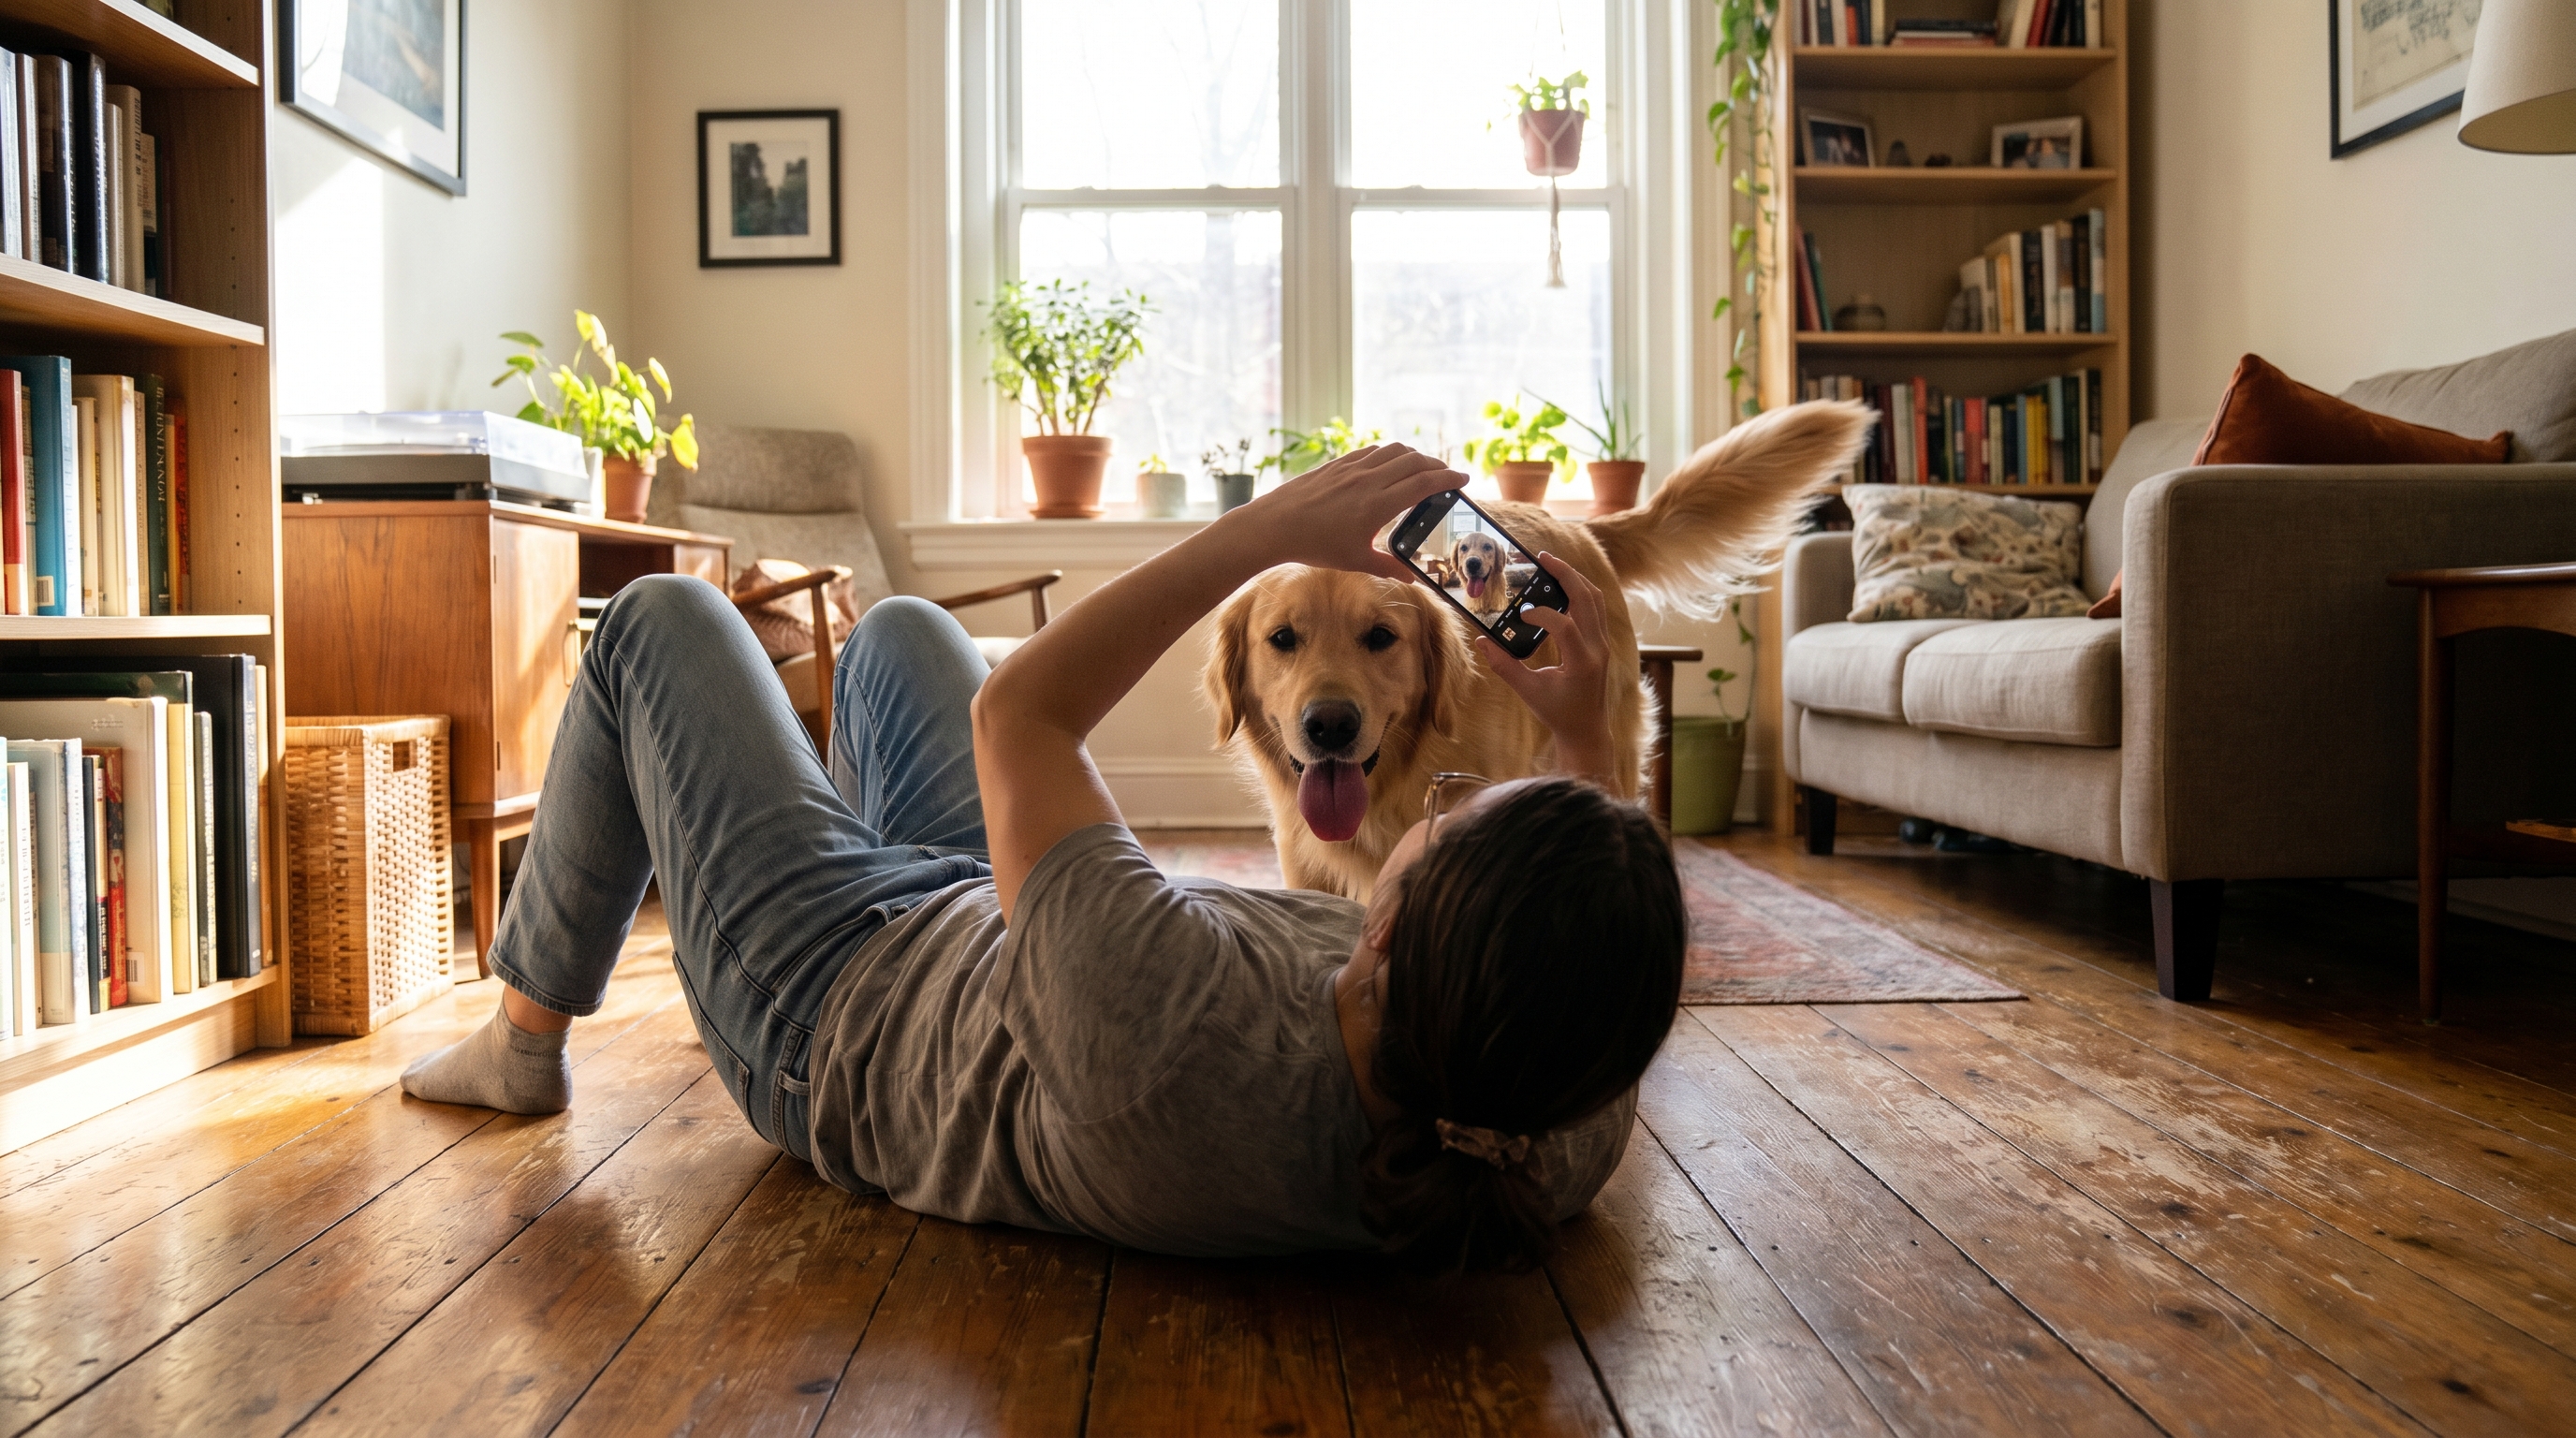
Shoot at Their Level
Get on the floor. Physically. Every single time.
Photos taken from above look like documentation. Photos taken at eye level look like portraits. This one change has a larger impact than any equipment upgrade.
Light is Everything
Best: Overcast outdoor light (soft, even, no harsh shadows)
Good: Indoor near large windows, side-lit
Avoid: Direct midday sun (harsh shadows under eyes), flash (eye glow, flat look)
The golden hours — the hour after sunrise and hour before sunset — produce warm, flattering light that makes any subject look better.
Shutter Speed for Movement
Dogs move fast. Any shutter speed below 1/500s will produce motion blur.
- Sitting/calm: 1/200s minimum
- Walking: 1/500s
- Running/playing: 1/1000s or faster
On a phone, use Sport mode or increase exposure compensation slightly in bright conditions to push the shutter speed up.
Part 3: Getting the Shot
The Treat-Above-Lens Trick
Hold a treat directly above the lens. The dog looks toward the camera for the treat, creating natural, direct eye contact. Time your shot to the moment their gaze is focused.
Burst Mode is Non-Negotiable
For anything that moves: use burst mode. 20 photos to get one great one is normal. 50 is also normal. Ruthlessly delete everything that doesn't work.
Capture the Micro-Expressions
The moments between the obvious shots are often the best: the head-tilt when they hear a sound, the half-open eyes in afternoon drowsiness, the nose working when they smell something interesting. Stay ready between the "posed" moments.
The Action Shot Setup
For running shots: get low, pre-focus at a specific point, let the dog run toward or through that point, and hold the burst.
Part 4: After the Shoot
Editing Principles
You're correcting, not transforming. The best edit makes the photo look like what you remember seeing.
- Exposure: adjust until the dog's face is correctly lit
- Contrast: a small increase adds dimension
- Clarity: a slight increase sharpens fur detail
- Vignette: a subtle vignette draws attention to the subject
Apps: Lightroom Mobile (best control), Snapseed (free, surprisingly powerful), VSCO (consistent presets).
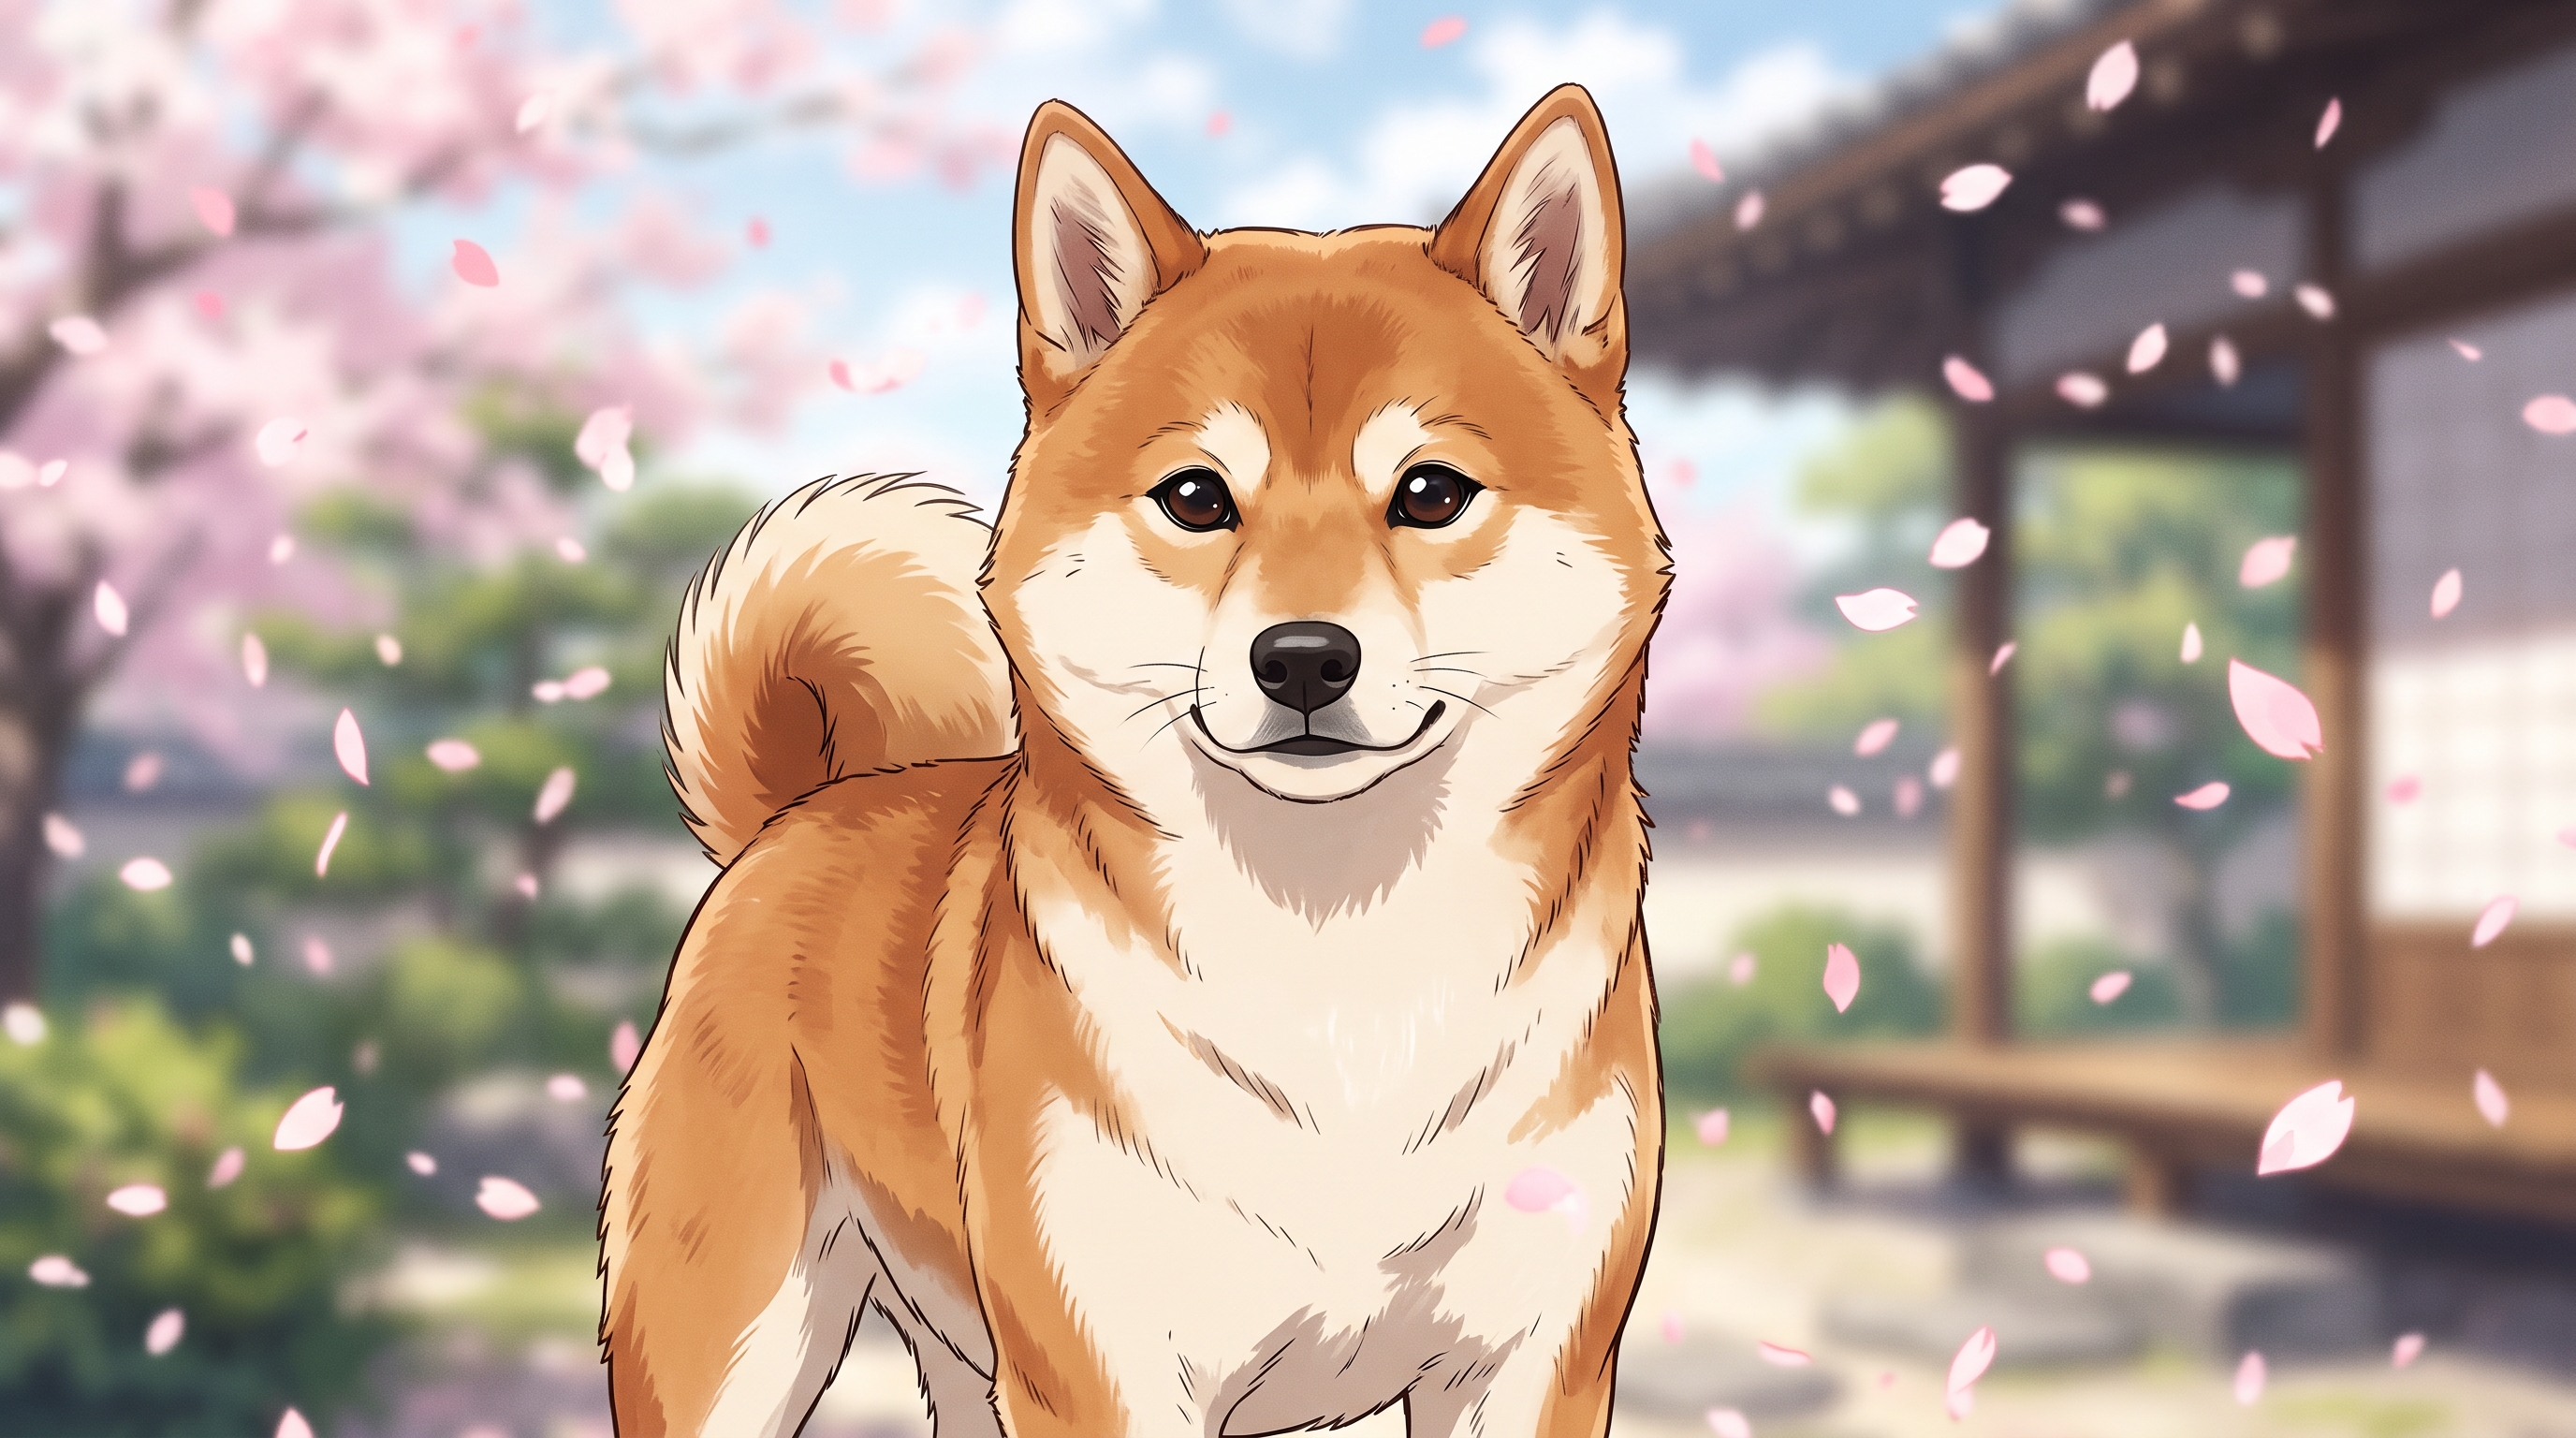
Taking It Further with AI
Once you have a strong base photo, PupGen opens a new creative layer: the same image transformed into a Renaissance portrait, a Pixar character, a Studio Ghibli watercolor. The photography is the raw material; AI is the artistic medium.
The two approaches are complementary, not competitive. A well-shot photo transforms better than a mediocre one.
The goal isn't perfection — it's documentation. Years from now, the photo you take today of your dog napping in a sunbeam will be worth more than you can predict right now.
Take more photos.
Related Articles
🐾 PupGen Media Newsletter
AI dog photo ideas, new presets, and the latest articles — once a week.
No spam. Unsubscribe anytime.